How to Change Band on Apple Watch

How To Change Band On Apple Watch: Quick Guide
Let's remember that our Apple Watch is a fashion statement, a fitness companion, and an everyday essential. Over 100 million people worldwide wear an Apple Watch, proving it’s a favorite accessory for many. But here’s the thing: even the most iconic gadgets deserve a personal touch. Whether you’re swapping out the default band for something sportier or dressing it up with a sleek leather option, learning how to change the band on your Apple Watch can transform your look in seconds. So, how to change the band on Apple watch exactly? Let’s get to know more about it.
Many people hesitate to switch bands, fearing it’s a complicated process. It’s not! In fact, Apple has made it so simple that you won’t even need tools. I’ve been there—intimidated at first—but now it feels second nature. Of course without breaking the band.
In this guide, I’ll walk you through every step, from safely removing your current band to securing a new one like a pro. Stick around, and you’ll also pick up some insider tips on caring for your watch and finding the right band for your needs.
Let’s dive in, shall we?

Why Change the Band on Your Apple Watch?
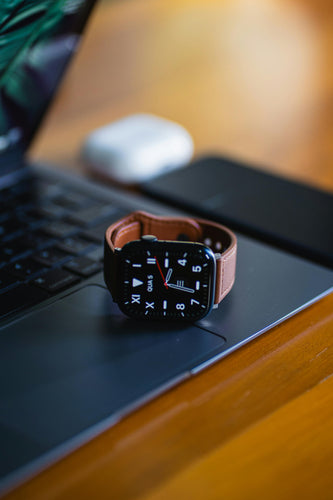
Imagine wearing the same outfit every day. Wouldn't it get boring? Similarly, your watch deserves a refresh. But this isn’t just about style. There are practical reasons too such as comfort. The band you wear to the gym might not be the one you want during a formal meeting. This band could be similar to the Apple Watch sports band. You might consider swapping it with beautiful leather Apple watch bands to match the formal environment. The next reason would be, functionality. Each band has its own purpose and fit for each event, adding to its durability. Over time the Apple watch bands wear out and regular replacements always keep your Apple watch looking the best.
Now— let’s move to the How!
Step 1: Preparing to Change the Band
Before you jump into changing your Apple Watch band, make sure that you’ve got a clean workspace. Dust, grit, or even a stray crumb can accidentally scratch your watch. Lay down a microfiber cloth to create a soft surface that protects your watch’s screen and casing. Here is a list of what you’ll need:
- Your Apple Watch
- The new band you want to attach
- Optional: A microfiber cloth for cleaning
No screwdrivers, no fancy gadgets— just your hands!
Step 2: Removing the Old Band
Apple has designed the Apple Watch with user convenience in mind, and removing the band is no exception. All you need to do is to turn the Apple watch over, you will notice that there are two thin oval buttons where the band meets the Apple watch. They are called band release buttons. You gently press the button to disengage the locking system. While carefully holding down the button, slide the band out to the side. It should glide out smoothly. If it feels stuck, double check that you’re pressing the button all the way down.
Once you remove the one side, repeat the process for the other.
Pro Tip: If you’re switching bands frequently, clean the connection points with a dry microfiber cloth to remove dust or sweat buildup. This keeps a secure fit every time. You can also check out our recent blog post about how to clean Apple wach band.

Step 3: Attaching the New Band
Now for the fun part: putting on the brand new Apple watch band. Start by taking one side of your new band and aligning it with the slot on the watch. Make sure the band’s connectors match the curvature of the watch’s casting. Then gently push the band into the slot. You’ll hear or feel a soft click, indicating it’s locked in place.
Once both sides are attached, give the bands a slight tug to make sure that they’re secure— because trust me, you don’t want your watch flying off mid-run. And if you are using adjustable Apple watch bands for women, take a moment to fit in snugly to your wrist. It should feel secure but not tight.
Choosing the Right Band
Your choice of band speaks volumes about your lifestyle. With Apple and third-party options ranging from silicone to titanium, here’s what you should consider:
First of all, are you running marathons or attending board meetings? For workouts, go for the Apple Watch sports band for easy adjustability and comfort. For a professional setting, leather or metal apple watch bands shine.
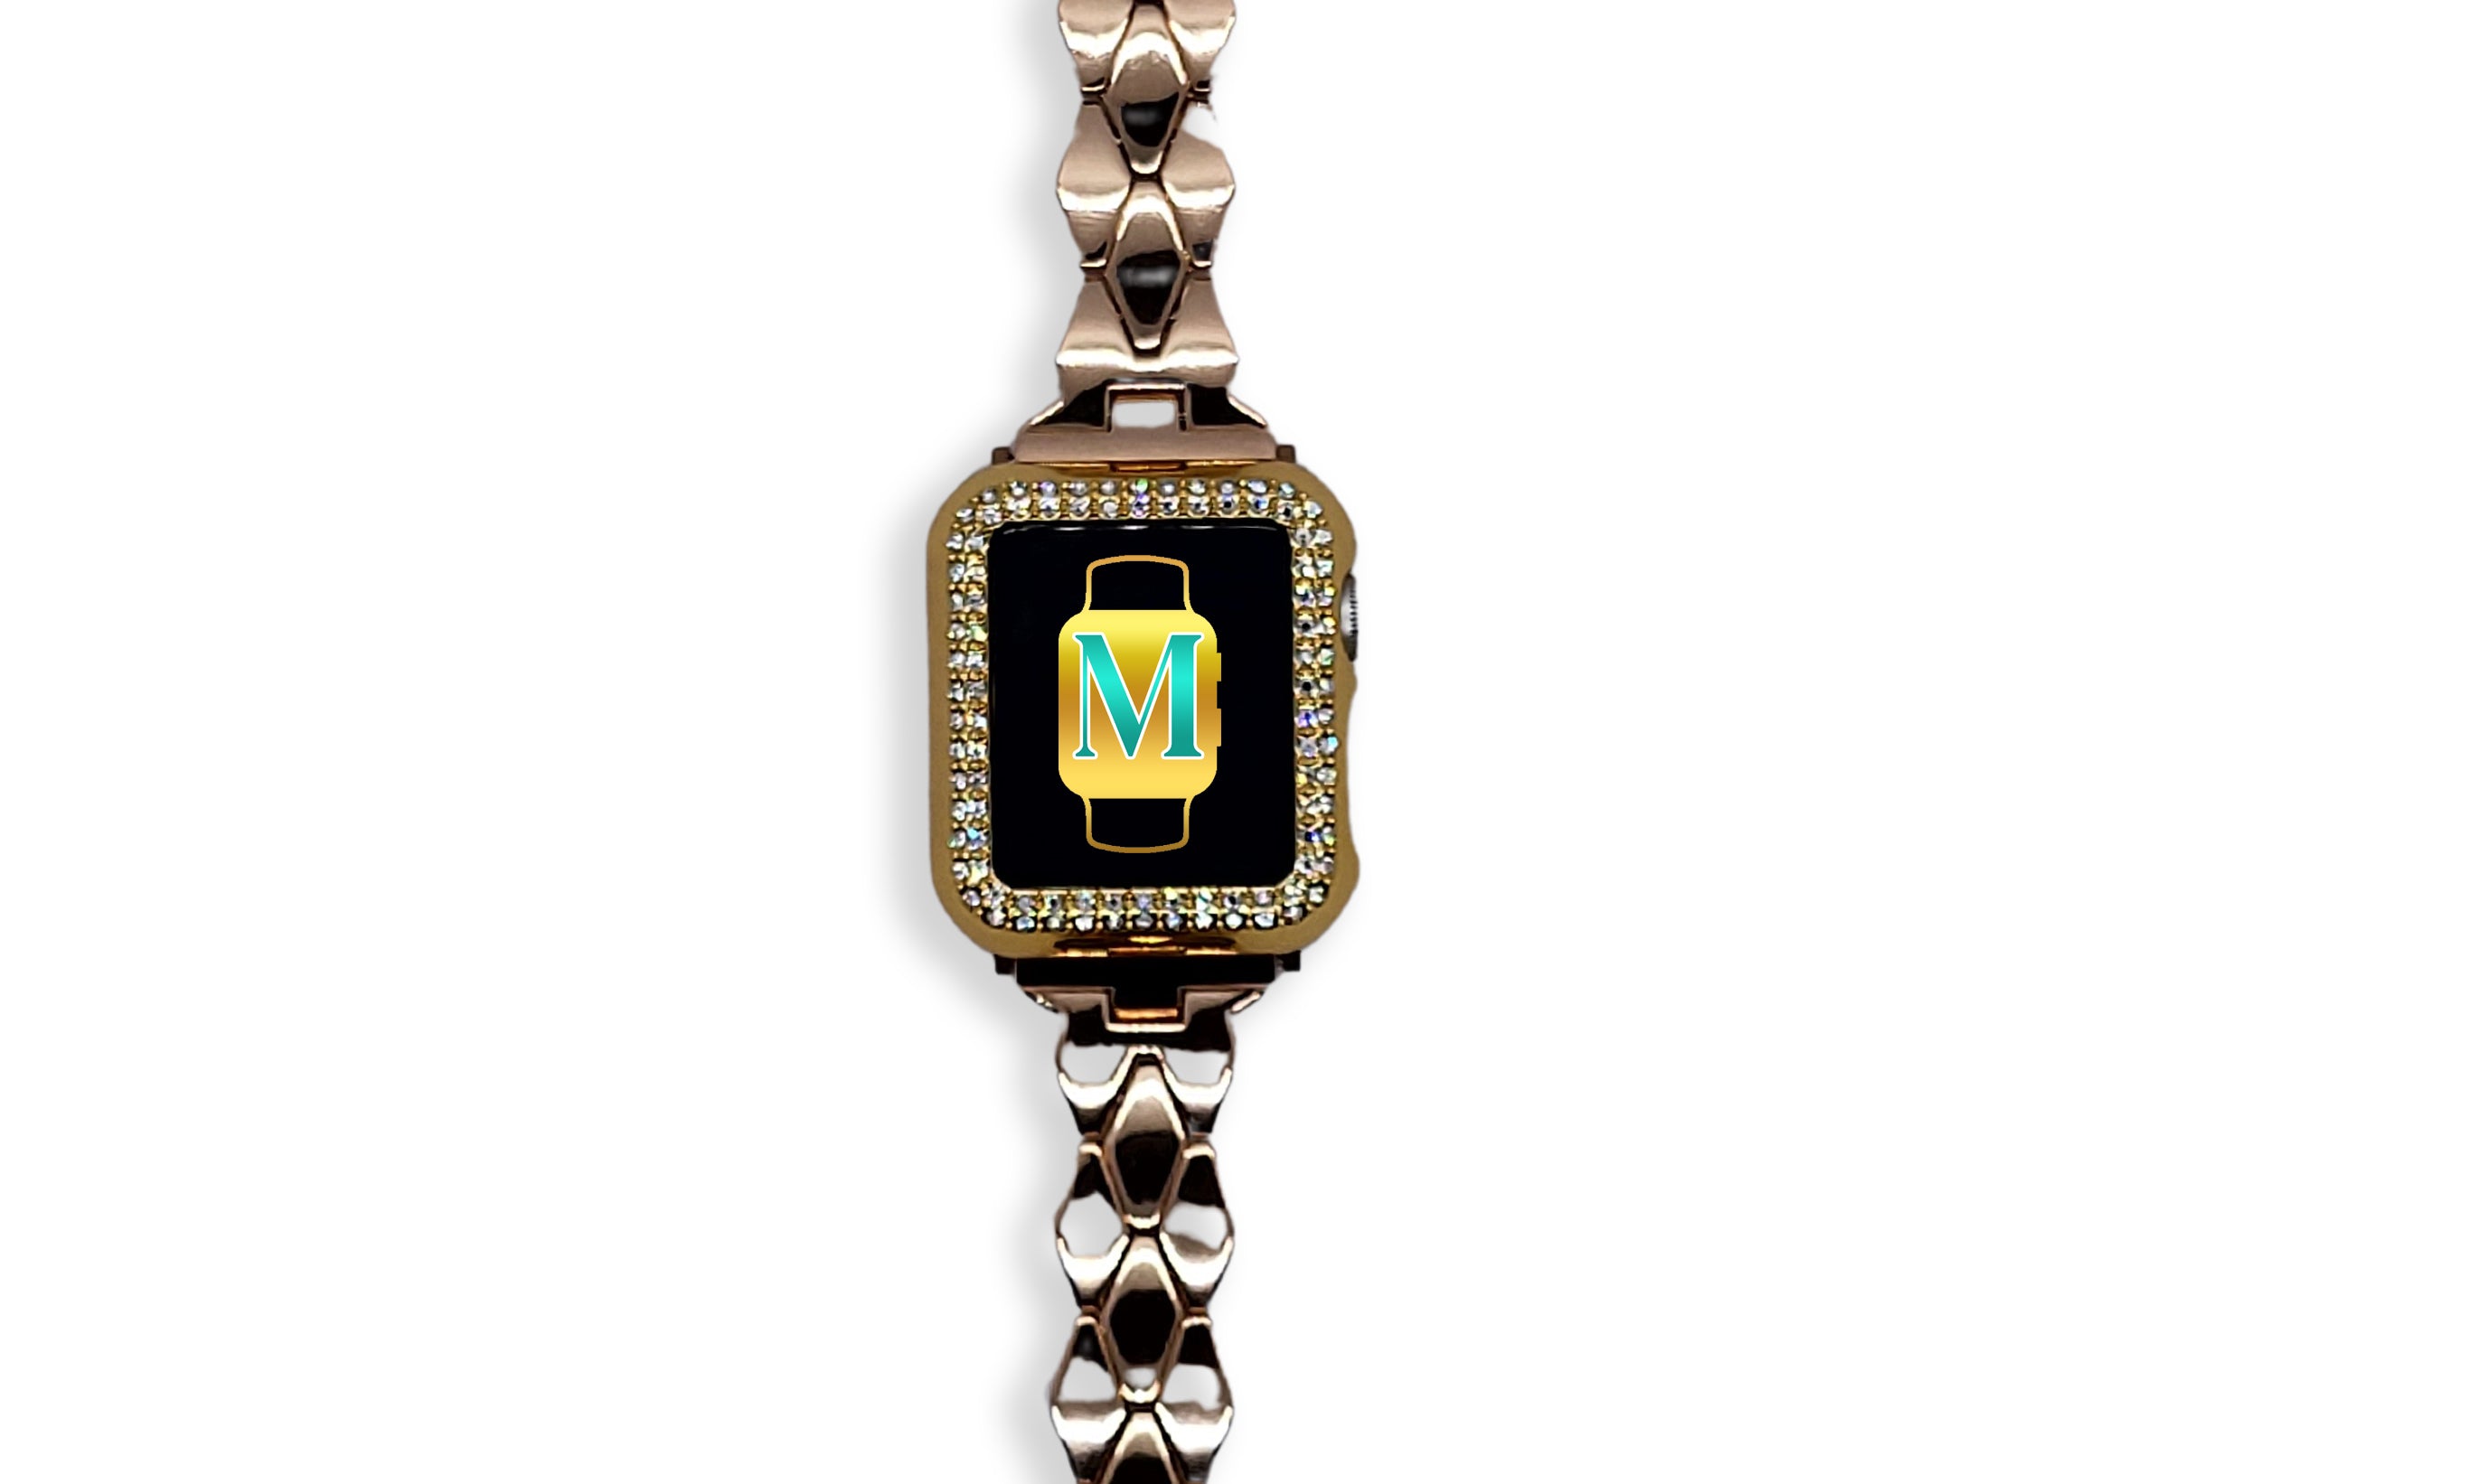
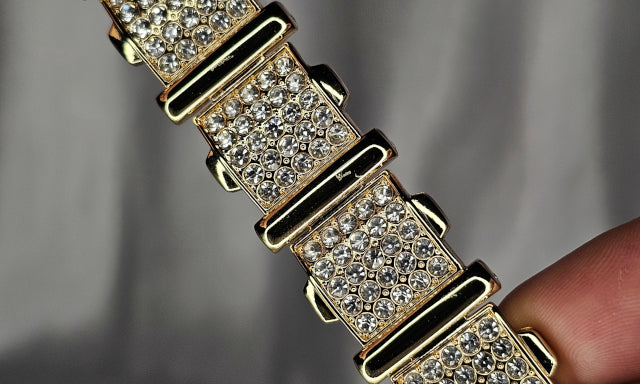
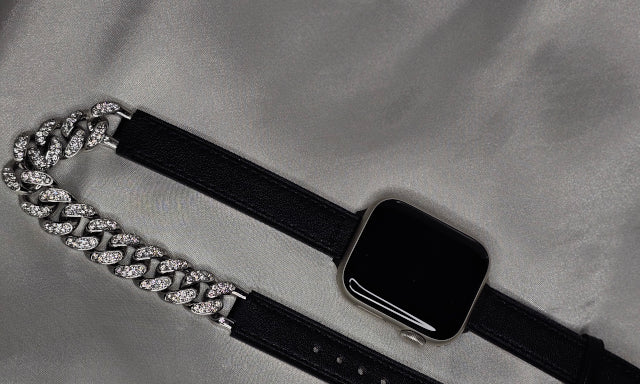
As for budget, while official Apple bands are part of the Apple watch, you can also check out our special designer bands for Apple Watch that perfectly complement your style.

Maintaining Your Watch Band
Once you’ve mastered changing bands, the next step is maintenance. Different materials require different care techniques. For silicone bands, you can wipe with a damp cloth and mild soap keeping away from harsh chemicals. For leather Apple watch bands try to keep away from the water and use leather conditioner periodically to maintain their texture. Lastly, as for metal Apple watch band, polish them with a microfiber cloth to retain their shine.
Voila!
Changing the band on your Apple Watch is a small act that makes a big difference. It’s about personalization, comfort, and functionality. From removing the old band to attaching a new one, you now have all the tools and tips to do it easily. And we hope this quick guide has helped you!
So, go ahead— dress up your Apple Watch to match your mood, occasion, or outfit. Whether it’s a sporty outing or a formal gala, your watch can complement every moment of your life. Ready to make the switch? Your Apple Watch—and your wrist—will thank you with My Pretty Bands!
Quick reminder, why don’t you check out our new Apple watch bands for the best holiday gifts for your loved ones? Let’s get the wrists shining in the holiday seasons!
- Tags: how to change maintenance


