How To Put On The Apple Watch Band

Five Minute Fun Guide: How To Put On The Apple Watch Band
Hey Ladies!
Happy to see you all and welcome to our first blog post on our guidance page! In case you’re new, here we’ll dive into all the essential info on adjusting, caring for, choosing, and so much more to help you maintain your favorite Apple Watch band. Get ready for a wealth of tips and detailed insights to keep your wristwear looking fabulous at all times!
Stay tuned for inspiration, styling tips, and everything you need to know to make your Apple Watch bands as unique and versatile as you are. Therefore, let’s dive into the world of wristwear together— where firstly, we will be showing you how to put on the Apple watch band on your beautiful wrist!
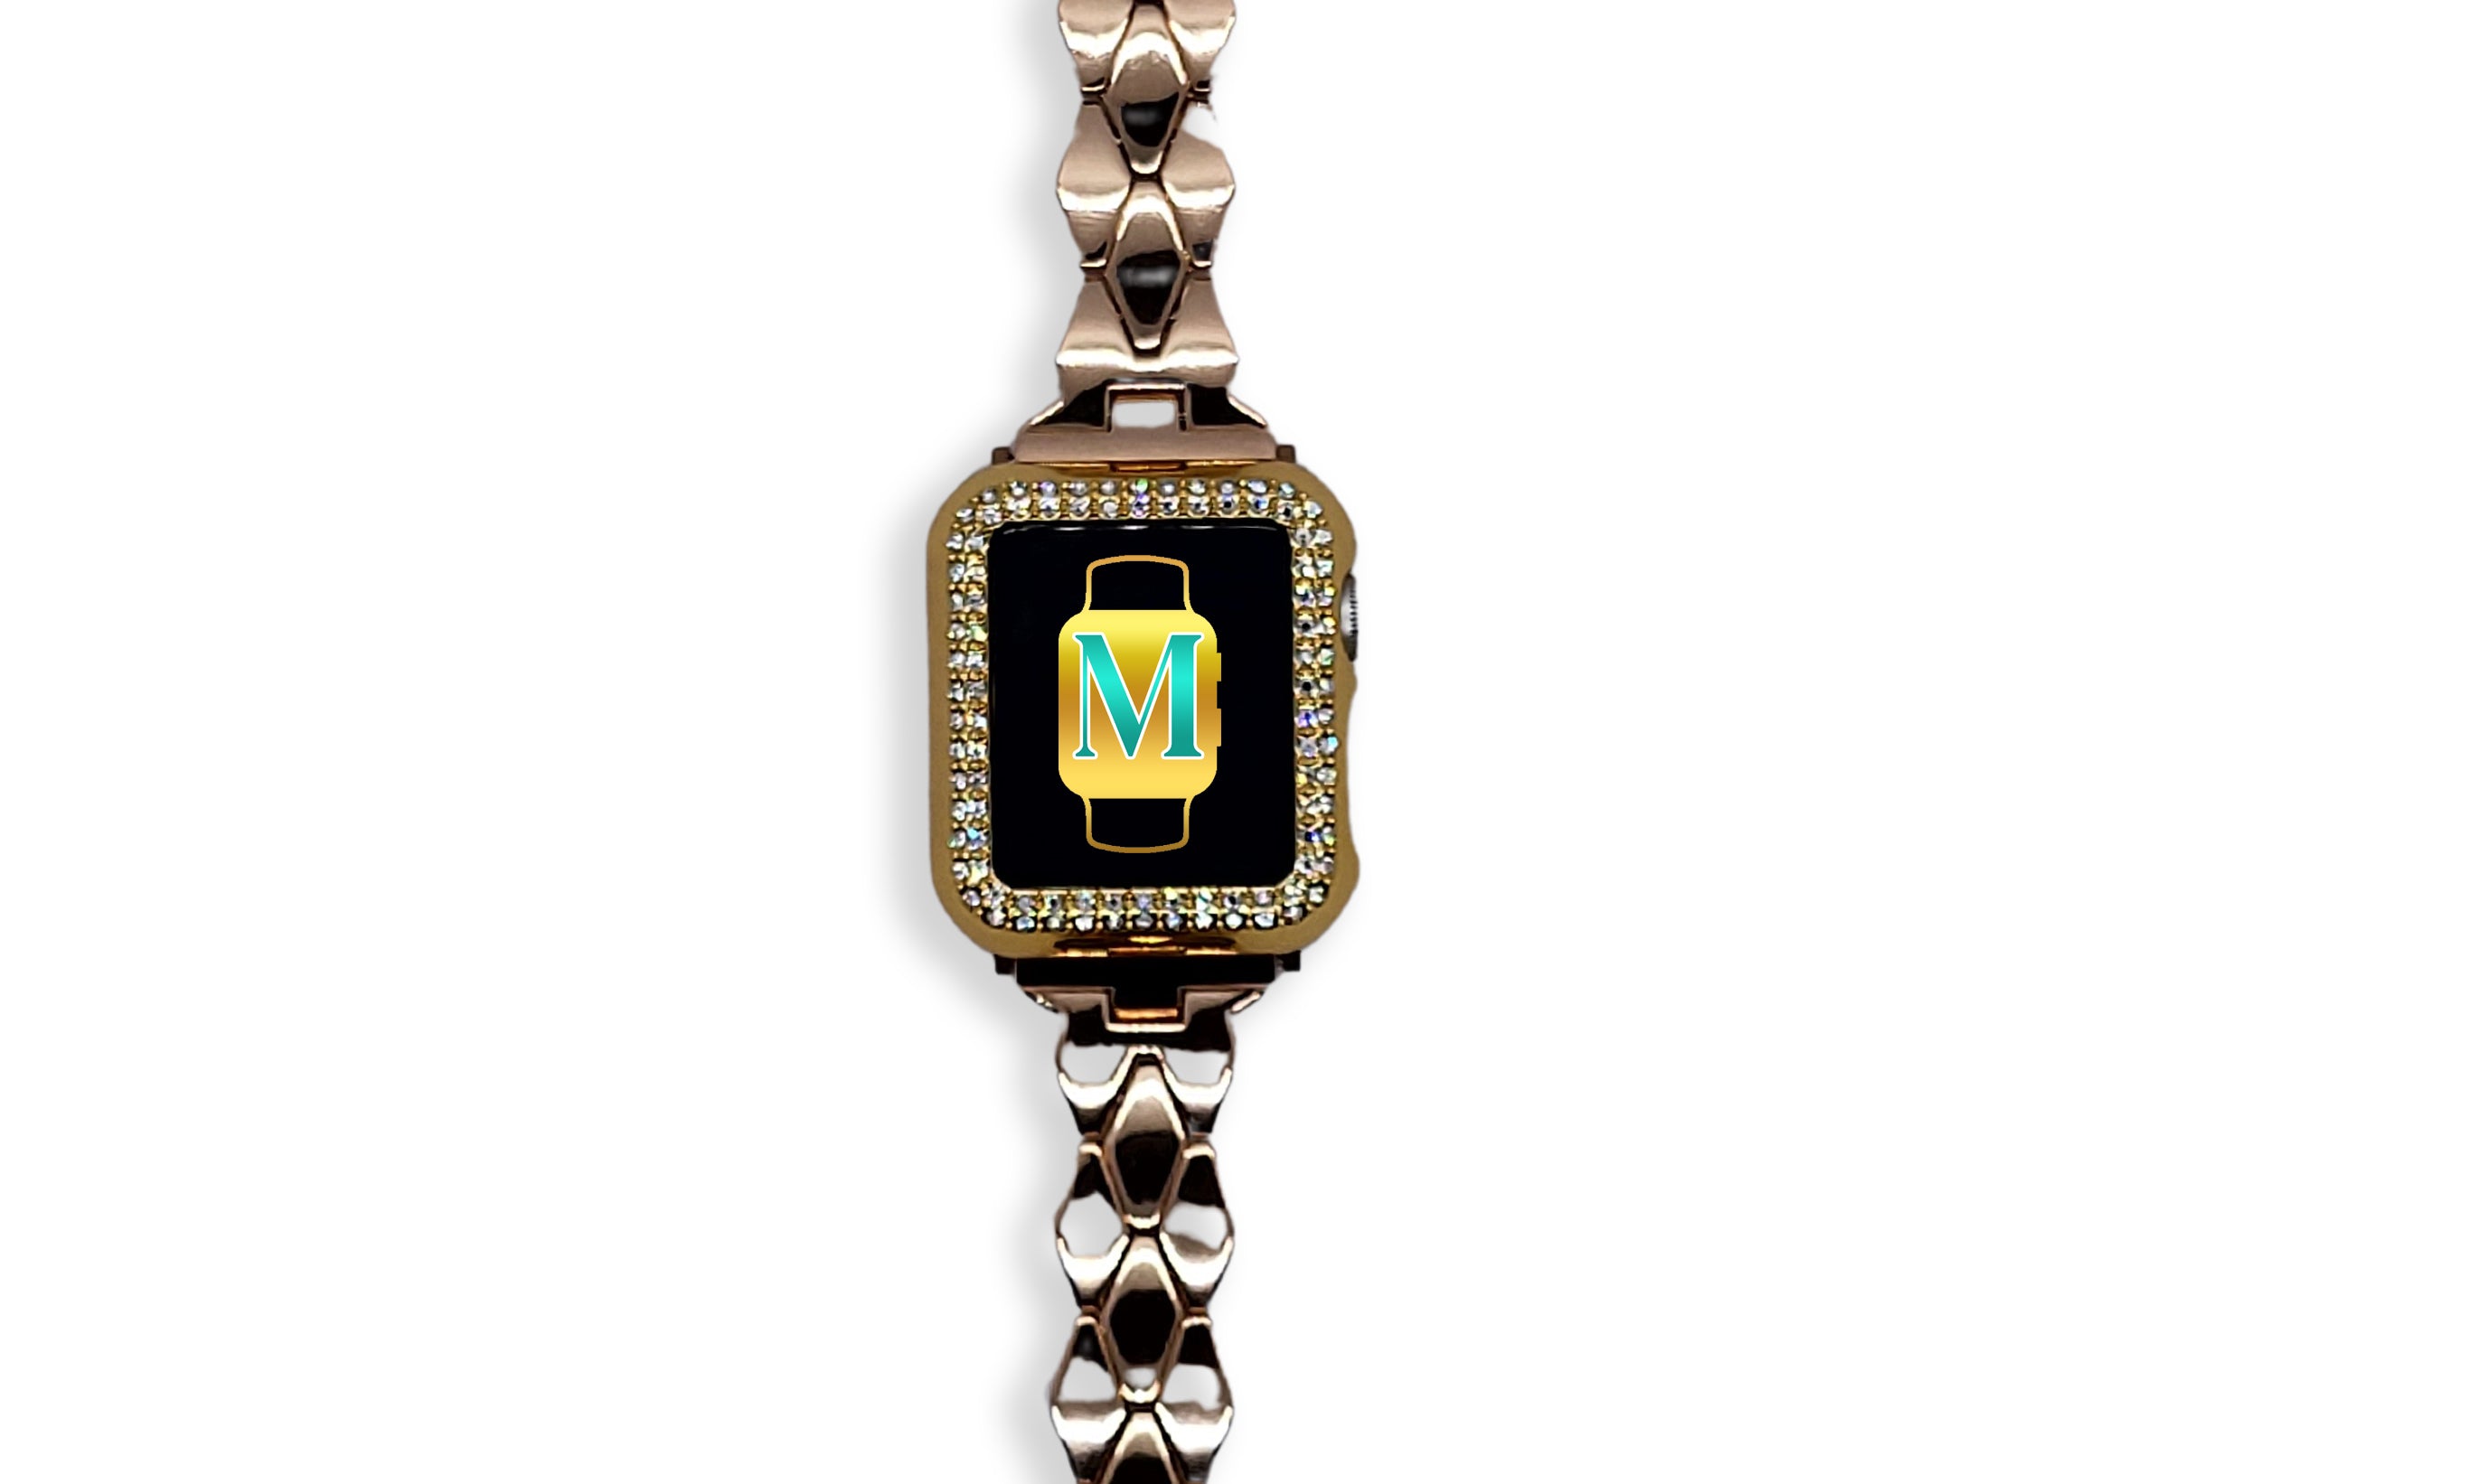
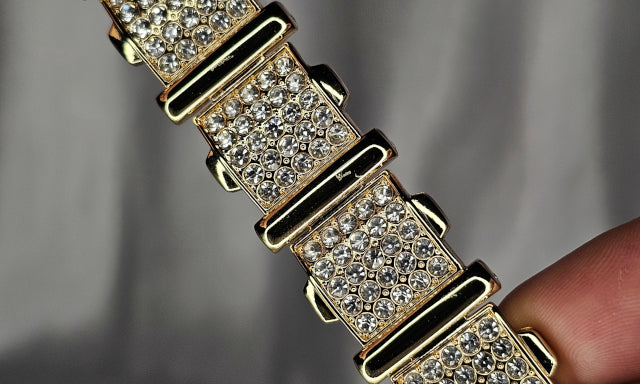
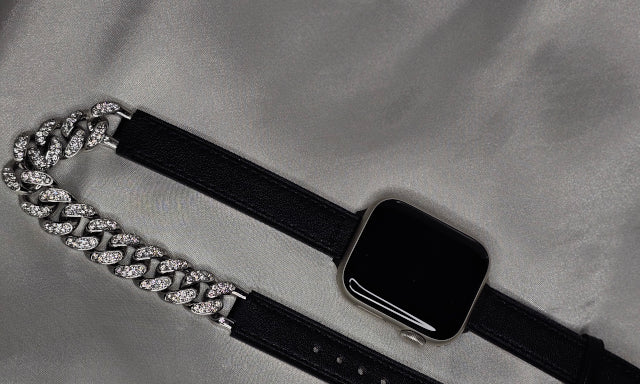
Oh, and before we dive into the main topic— why don’t you check out our beautiful Apple watch band sales and start exploring our high-quality, elegant Apple watch bands for your perfect wear? Let’s get started!

All You Need To Do
- Set Up a Suitable Environment
A little friendly reminder before we dive into band-swapping! Before removing your watch, make sure you’ve set up a cozy, soft workspace— no one wants their precious Apple Watch face taking an unexpected tumble! Grab a microfiber cloth or a soft surface like a mouse pad to keep things scratch-free. It might sound simple, but hey, we've all had those “oops!” moments and a little extra caution never hurts. So, let’s keep things smooth and safe while we get that new band on— your watch face will thank you later! Moving on…
- Remove the Current Band
To remove your current Apple Watch band, give your watch a little flip so you’re looking at the back— this is where the beauty happens if you’re doing it the first time! You’ll see two tiny buttons near the top and bottom of the band attachments. Think of them as the let-go buttons for your band. Gently press and hold one of these while sliding the band segment sideways. With just the right touch, it should slide right out like butter— well, close enough...
Now, onto the second half! Just repeat the process, pressing the release button and sliding it out. Voila! Now let’s move on to the next step.
- Prepare the New Band
Congratulations! Once your old band is removed, it’s time to prepare the new one. Make sure that both pieces are correctly oriented so that they’ll attach in the proper direction. Most Apple Watch bands have a top and bottom piece, with the top section attached to the top of the watch case— where the Digital Crown is located. It’s important to line up these pieces correctly, or the band may feel awkward or look unaligned when you wear it. Comfort and beauty come first!
- Attach the New Band
Now comes the important moment— attaching the new band. Take one piece of the band and position it over the groove on your Apple Watch. Align the band with the grooves on the watch body, and gently slide it in until you hear a faint click. This sound indicates that the band is locked into place. If you don’t hear or feel a secure fit, remove the band and reinsert it to make sure it’s correctly attached.
Repeat the process for the second piece of the band. Double-check that each section is firmly in place by giving it a gentle tug. If properly attached, the band will hold firm and resist any movement. This security is crucial for making sure that the watch doesn’t detach while you’re wearing it.
- Check for Comfort and Fit
Now that your new band is securely attached, try the watch on to make sure it feels comfortable and fits properly. Adjust the tightness of the band if needed, especially if it’s a leather apple watch band or a metal apple watch band to keep the best comfort. You want it snug enough to accurately track your movements without being too tight or restricting blood flow.
Apple Watch Band Tips
Avoid Common Mistakes
At MyPrettyBands, comfort comes right after high quality—it’s our guiding principle! Even with our user-friendly, easy-to-change mechanism, it’s easy to make little mistakes that can throw off the fit and comfort of your new band.
Firstly, the apple watch bands are designed to slide in and out smoothly. If you’re experiencing resistance, check once again that you’re pressing the release button properly and aligning the grooves before applying any force. Additionally, apple watch bands come in various sizes such as 38mm, 40mm, 41mm, 44mm, and 45mm which are represented under each description of our products. Always confirm that your band is designed for the specific Apple Watch model you own.

Lastly,
Switching up your Apple Watch band is an easy and fun way to refresh your style and match your watch to any occasion. Because we ladies love changing the slightest details to match our current mood for the rest of the day!
With the right band and just a few simple steps, you can keep your Apple Watch looking legit while staying super functional. Whether you’re off to a formal meeting, breaking a sweat at the gym, or just kicking back at home, there’s an Apple Watch band perfect for the moment such as the apple watch sports band. So, take a few minutes to master the art of swapping, keep those bands in tip-top shape, and you’ll be ready for whatever adventures come your way— fashionably late, of course!


